Tuesday, November 30, 2021

30 Days of Thanks - Day 29

Just my luck! I make a card every single day this month on time and then get behind with only a couple left to do lol

Here’s card 29 (just a day late lol)


I’ll be completely honest here … I totally CASE’d this card from a crafter named Cindy Elam! If you don’t know, that means ‘Copy And Share Everything’. We crafters don’t mind (& actually encourage) when people copy a project! I did change the sentiment used, but this design is hers.

Anyway, I seen the card and immediately knew I wanted to copy it. I’ve been wanting to use the Perfect Borders die set, and this one was just what I needed.

Thank you for stopping by today! If you have any questions please don’t hesitate to contact me.


xoxo
Dawn


30 Days of Thanks - Day 28

I have card number 28 here. The holiday weekend had me all messed up, so it’s a little late lol

This one was easy to make! Typical card bases are cut 8 1/2” x5 1/2” and scored/folded in half at 4 1/4”. This one is cut the same size, but scored/folded at 2 1/8” on each end to fold toward the center. 

I used the colors Daffodil Delight, Highland Heather and Garden Green, along with the Layering Circles die set …

I used the stamp set Peaceful Moments for the sentiment. However, since it didn’t fit in the circle I wanted to use I just cut the stamp. If you decide to do this, just be careful that you don’t cut the letters.

Thanks for stopping by today!
xoxo
Dawn


Saturday, November 27, 2021

30 Days of Thanks - Day 27

 This is one of my favorite designs for a quick and cute card …


This look is simple to achieve! After you cut the layering pieces, you stack the front layer color pieces. For this card, it’s the yellow. Add repositional adhesive to the smallest and attach to the center of the middle yellow. Add repositional adhesive to the back of that and attach the the center of the largest piece. Stamp the sentiment, then the images randomly to cover all pieces. 

Remove from each other and attach with permanent adhesive to the coordinating layers. I hope that makes sense lol!

I used the stamp set Celebrate Sunflowers, and the colors Crushed Curry & Pumpkin Pie …


Thanks for stopping by today! If you have any questions, please don’t hesitate to contact me.

xoxo
Dawn


Friday, November 26, 2021

30 Days of Thanks - Days 25 & 26

Since yesterday was Thanksgiving so I didn’t craft lol, I’m counting this project as 2 days! 


Ohhh myyyy gawwdd (imagine Janice from ‘Friends’ voice lol)

I forgot how much I love making explosion boxes! It’s been a really long time since I’ve made one, but I already have plans for several more lol.

Are you familiar with Jennifer Maker? She is an ahh-mazing Cricut instructor that I’ve been following for years. If you have a Cricut, you should definitely check her out. She shares tons of video tutorials, instructions and a lot of files to upload into Design Space. 

Anyway, I recently seen her video on explosion boxes and decided to make one. My mail lady is retiring and instead of making a card, I thought this would be perfect to wish her luck and thank her for so many years of service.

I had an old paper pad stack that I decided to use as a trial. After making the whole box, I decided I loved it and it’s going to be the gift. The only thing I don’t love is that it’s one-sided paper. Next time, I will definitely use Stampin’ Up! paper because it’s always two-sided.

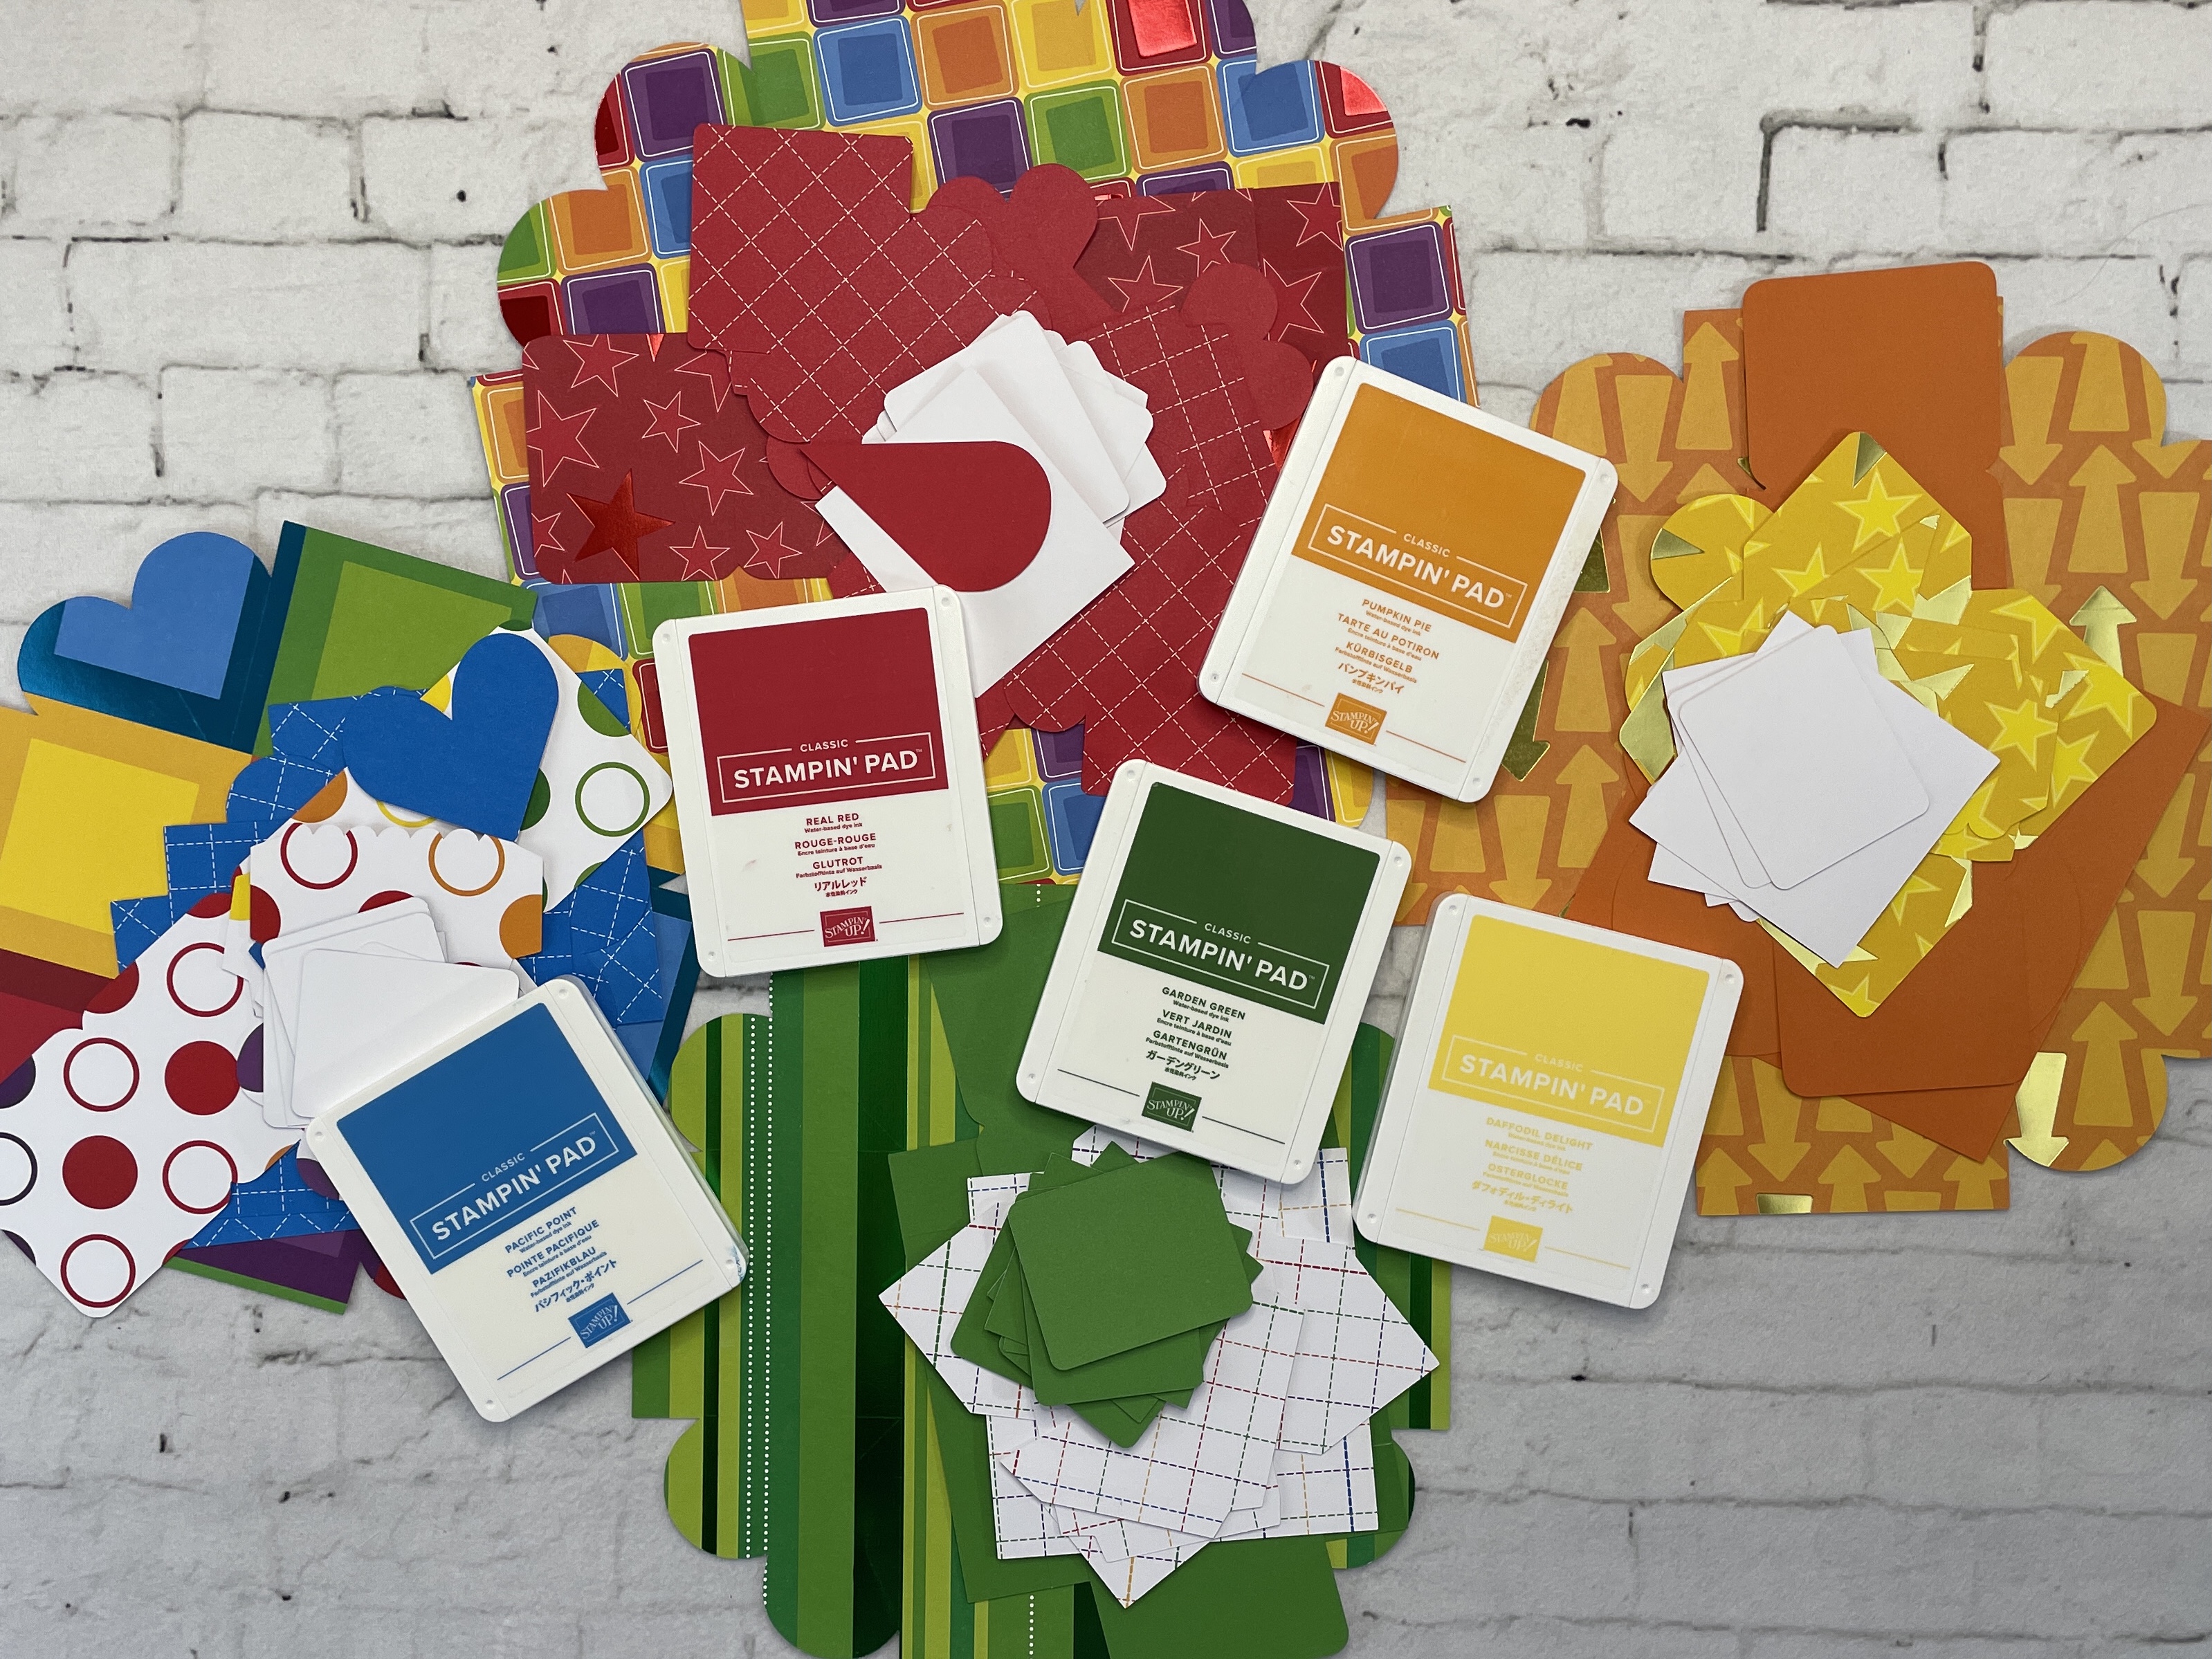
After everything was cut and sorted, I chose coordinating Stampin’ Up! ink pads to use …


Then I just started folding and gluing everything together! Here’s the completed box …


When you take the lid off, this is what you see … another box!


Take off that lid, and you see … another box!

And take off that lid and … another box!

Take of that lid and … it’s the inside lol. I plan on writing a note of thanks in the center. There’s plenty of room if you’d like to add a small gift or candies.

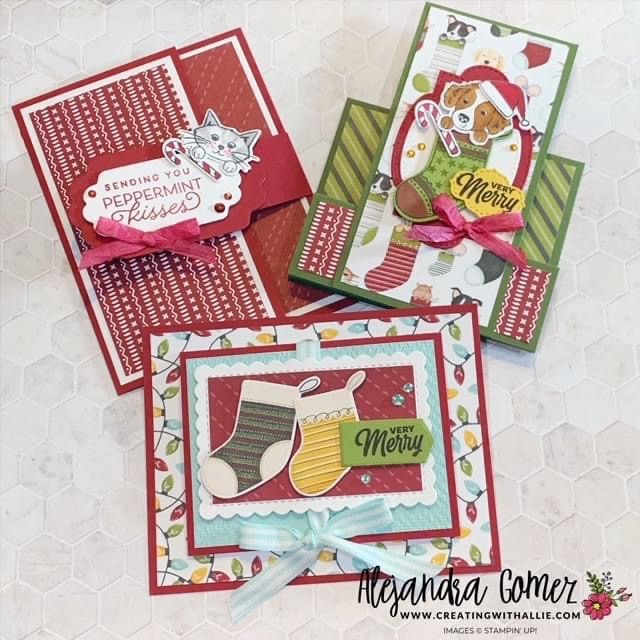
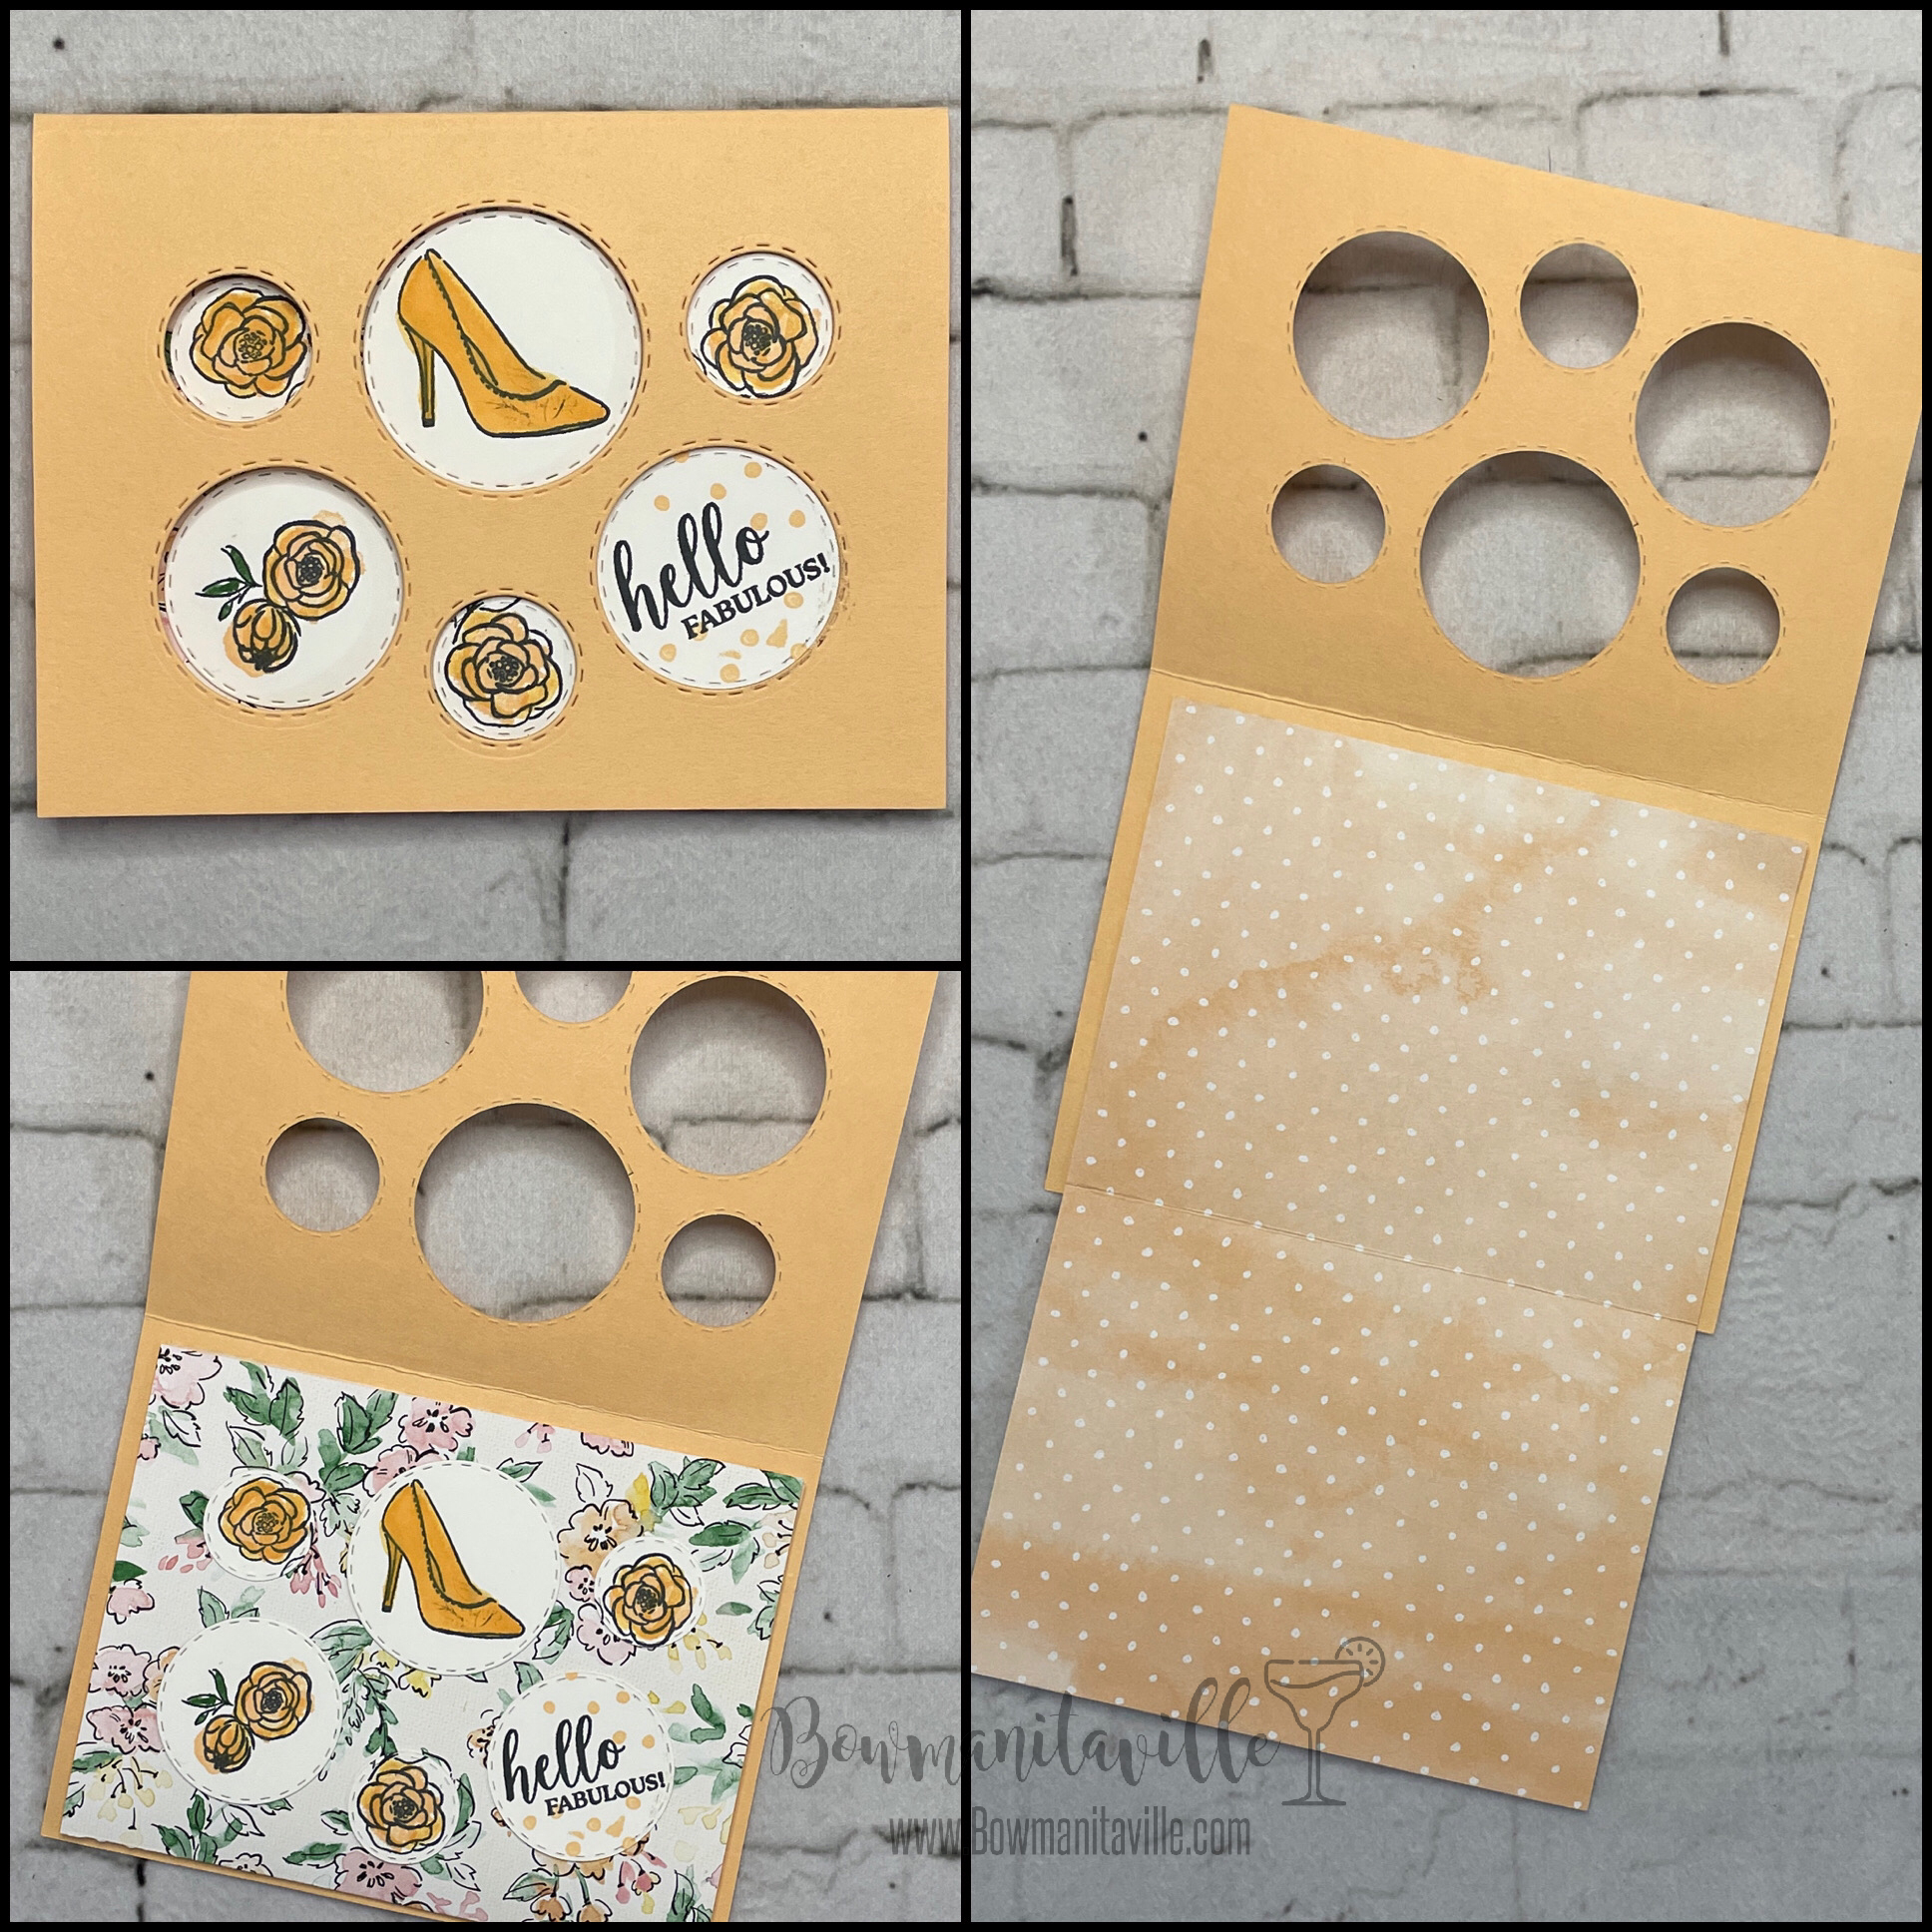
Here are the little note cards that I decorated with various stamp sets …
Isn’t that just the cutest gift?! I really loved making it and can’t wait to make more!

Thanks for stopping by today! Feel free to leave a comment or contact me …

xoxo
Dawn


Check out my links …


Wednesday, November 24, 2021

30 Days of Thanks - Day 24

Happy day before Thanksgiving!!🦃

I have today’s card ready for you. With all of the cooking going on today and tomorrow, I thought this would be a good stamp set to use …


I started out by stamping and cutting the utensil & bowl images. When I came to putting them together, I wanted the utensils to be ‘in’ the bowl. So I decided to use my exact knife to cut a slit in the bowl …

Then I could slide them into the slit to look like they’re in the bowl. I added a little adhesive to the back to secure them …

I added a 2”x4” strip of DSP to the Crumb Cake front layer. Using the dies from Hippo Happiness, I added the sentiment and bowl of utensils, then attached it to the card.


Thank you for stopping by today! I hope you have a beautiful & blessed Thanksgiving.

xoxo

Dawn


Join Stampin’ Up! and Save on your gift list!

Do you love to craft?
Are you thinking about making your own holiday cards to send out?
Have you considered creating handmade gifts?

If you answered yes to any of those questions and want to save money, here’s your answer …

Join Stampin’ Up! and become an independent demonstrator! Right now you can join Stampin’ Up! for just $75 (normally $99)!!! For that $75, you can pick $125 worth of product from any current catalog! You choose your product! If you want all Cardstock, or just ink pads, or you’ve had your eye on some stamp sets … you get to choose what you want!

That’s $125 worth of products for just $75 (+ tax) and you get FREE shipping!! PLUS as a Stampin’ Up! Demonstrator, you’ll get so many perks! 

  • a 20% discount on future purchases! 
  • Access to new catalogs and products before they’re made public
  • Earn host rewards with your own purchases
  • Become part of an amazing team! My team leader, Robyn Cardon, has graciously opened up her Facebook group of Pink Stampers to her indirect team members. That’s her team members (me) AND their team members (you!). This group is so fun and inspiring! It’s a great place to hang out, there is so much training and challenges.

You can pick out products in your starter kit to create gorgeous cards, gifts, gift packaging, home decor … the possibilities are endless! Check out some beautiful projects created by fellow Stampin’ Up! demonstrators  …


Aren't these amazing? You can make these projects too! If you'd like more info on joining this wonderful family of Stampin' Up! demonstrators, please don't hesitate to contact me.
xoxo
Dawn


Tuesday, November 23, 2021

30 Days of Thanks - Day 23

Card number 23 …

When using the Nothing’s Better Than stamp set, I find myself using the cocktails quite a bit lol. This time I decided to use the cookies!

I used the framelits from Hippo Happiness and stamped the sentiments. Then I stamped and diecut a bunch of the cookies and attached them to the back. Once I got them all on, I attached it to Early Espresso, then onto Balmy Blue card base…

Thank you for stopping by! 

xoxo
Dawn


Monday, November 22, 2021

30 Days of Thanks - Day 22

 Card 22 …

I just have to say, this stamp set with coordinating dies is so very special to me! When you're a Stampin' Up! demonstrator and reach $1 million in sales, aside from many other rewards and perks, you get to help design a stamp set! Isn't that awesome?! Well, this stamp set was designed by my team leader Robyn Cardon. She is just so amazing and inspiring. I love this set so much! It is so versatile with all of the shaped dies. I find myself using the framelits quite often.

For this card, I decided to cut out the front layer of DSP with the framed die. Then I used 2 dies that fit into each other to cut out a frame. You just line them up on your cardstock and run it though the Stampin' Cut & Emboss machine together. You end up with an open frame to put on the cut piece ...


I stamped the image and sentiment on a piece of Basic White cardstock ...

I centered it in the opening and attached it to the back of the cut out card front. Then I adhered it to the card base. Here are the products that I used on this card. Hippo Happiness Stamp Set & Dies, Highland Heather cardstock and ink, Hand Penned Designer Series Paper ...

Thanks for stopping by today! If you have any questions, please leave a comment or contact me …

xoxo
Dawn


Sunday, November 21, 2021

30 Days of Thanks - Day 21

Oh my gosh, I am just loving this rainbow glimmer paper! I’ve been using just small bits here and there, trying to conserve it lol. I sure hope Stampin’ Up! keeps this forever!

So, here’s the card I made for today …


I used Memento Tuxedo Black ink to stamp the image from the stamp set Nothing’s Better Than on the rainbow glimmer paper, then cut them out with the matching die. I wanted the glittery glimmer paper to really stand out, so I attached them to Basic Black cardstock. Then layered on Bermuda Bay and Blackberry Bliss. 

I used VersaMark ink and white embossing powder for the sentiment, which is from the retired set Sip Sip Hooray.

I hope you love this one as much as I do! If you have any questions, please don’t hesitate to contact me …

xoxo
Dawn


Saturday, November 20, 2021

30 Days of Thanks - Day 20

Whoa only 10 more days of this challenge! I am having so much fun making all of these cards and sharing them! I hope you’ve been following along.

Here’s card number 20 …

This was a pretty simple card! I used the Picture Perfect dies on the front of the Pale Papaya card base to make a cute little peek-a-boo card. I cut the Designer Series Paper to fit inside, but attached it in reverse to it's sort of a tri-fold card. For the stamped images, I used the Picture This dies again on Basic White. I stamped the images, then adhered them inside the cut card front onto the DSP ...

I love the way this one turned out! What do you think?

Thanks for stopping by today! If you have questions, please feel free to comment or contact me.


xoxo
Dawn