Tuesday, June 18, 2019

#TipTuesday Another Upcycled Project

I love upcycling! I have so many pieces around the house that the hubs and I have upcycled over the years. This is one of my most favorites!
The hubs worked construction for over 30 years, and he was always bringing something home! One day he came home with this metal cabinet. It looks like maybe it was a library card catalog? I don't know, he took it out of a building he was demolishing.
I took one look at it fell in love! I could see so much potential!! All those drawers would be a perfect addition to my craft room!!
We immediately got to work taking the drawers out, sanding it all down, and cleaning it up.

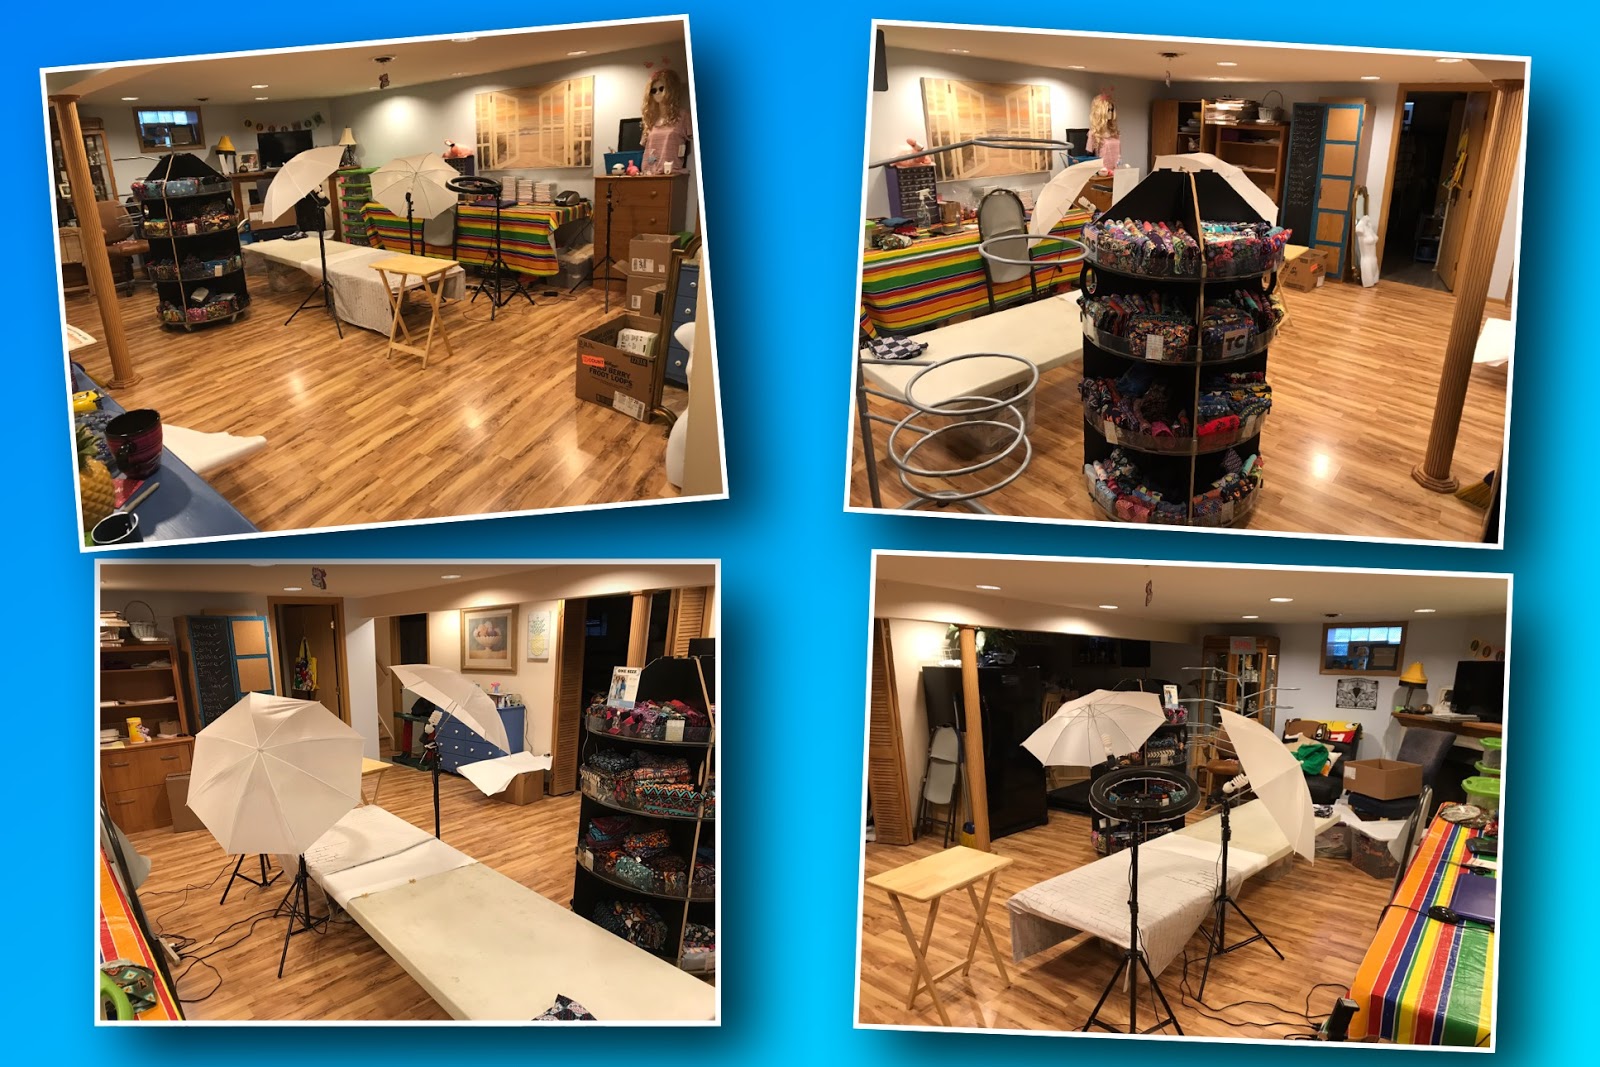
We sectioned off a part of our garage to help contain the dust
and paint,
and protect all of hubbys tools and stuff.
The drawers were the hardest! They all had a
metal divider down the center.

The dividers were welded on, but he was able to use his
grinder to cut and remove them. I did leave them in the
top three drawers to hold smaller items.
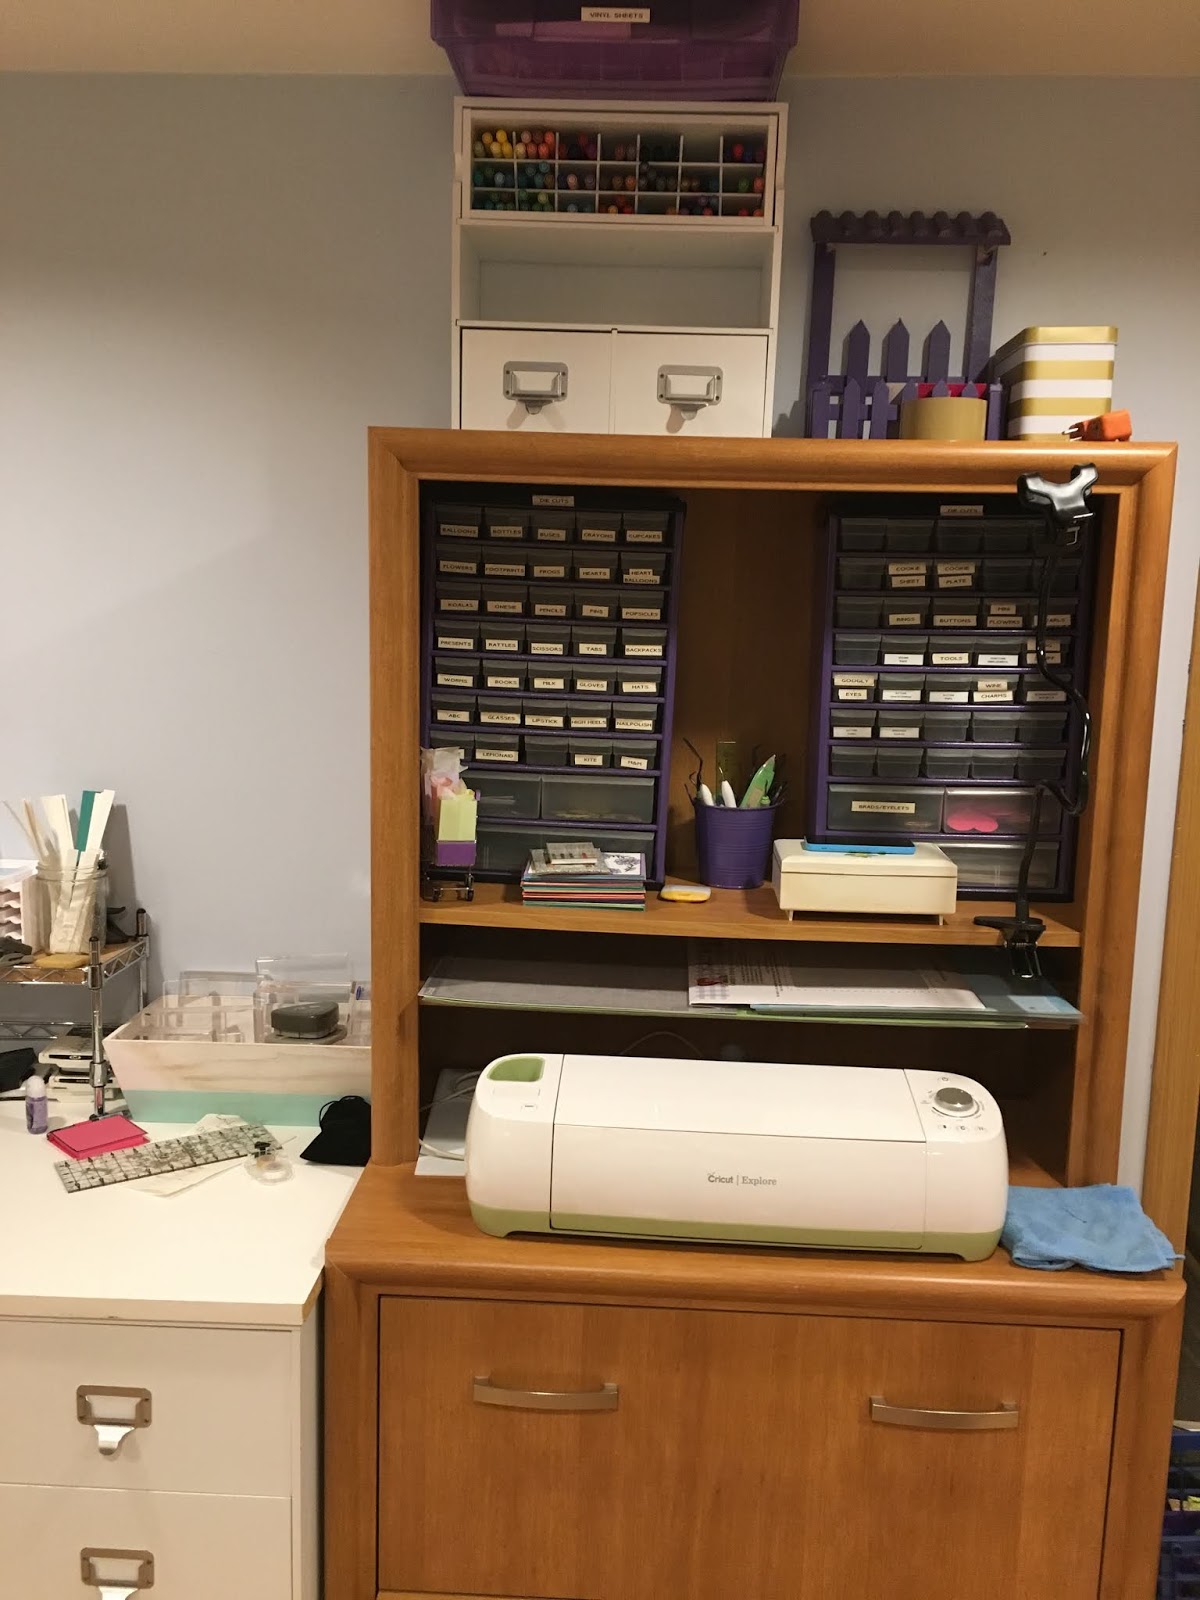
I decided to leave the insides white and paint the outside and
drawer fronts purple to match my craft room.

The drawers all had a groove down the center (I'm assuming
for the card catalog springy thing). So I bought a bunch of 
foam board, cut it to size and put it in each of the drawers
for a smoother bottom surface.

I cut little labels to put in the slots of each drawer,
displaying its contents.
Well, that's it. That's my metal cabinet makeover! It holds so much stuff and I absolutely love it. I don't think I will EVER part with it lol. It is super heavy, especially filled, so we put wheels on it to make it easier to move around if needed.

Thank you so much for stopping by! If you have any questions, please don't hesitate to leave a comment, send a message or email me.

If you haven't already checked out my Facebook page, please do so. There you'll be able to stay up to date with all of my projects, sales, specials and tutorials …
www.Facebook.com/Bowmanitaville

Tuesday, June 11, 2019

#TipTuesday Upcycling

Don't you just love upcycling an item?
Here's a cart that my dad made me years ago. I use to have it on my deck and used it as a BBQ cart next to my grill. It had hooks across the front to hold BBQ utensils.
One day, I was looking at it and realized that I really didn't use it as much since buying a new grill with side shelves. So, I starting wondering what else I could use it for. My Craft room! Specifically, my Cricuts!! So, I sanded it down and painted it my favorite colors. That board above it is just a piece of wood painted to match. I used Velcro dots to stick my Cricut cartridges to it. It was great to see them all at a glance, pull off the needed cartridge, and pop it into my Cricut!
It was perfect, and I used it for several years. But then one day, after getting a new Cricut Explore & getting rid of my old Cricuts and not needing my cartridges, I decided that I needed to upcycle it again!
So I had my hubs build a new top for it! We measured around the top of the cart and made a frame. Then we attached the frame to a piece of laminate that was bigger to give me more space. Now the top can come off if I ever change my mind!

We also added wheels so I can roll it around.
With the added top and wheels, the height of it is now perfect to stand and work on projects or use as my cutting area!

Sadly, my dad passed last year. I am so happy that I still have this piece that always reminds me of him. It has to be about 15-20 years old and it has held up wonderfully!

As always, if you have any questions please don't hesitate to comment or send me a message or email. Thanks so much for stopping by!

xoxo
Dawn

Saturday, June 8, 2019

I’ve outgrown my Craft Room!! 😩

This. This right here is why I’ve been unable to craft very much lately. This was my Craft Room - a 9' x 11' spare bedroom that I turned into my Craft Room after my daughter moved out. As my supplies grew, I’ve tried and tried and tried to organize and reorganize and go through and get rid of ... It’s been so overwhelming 😩
(Click pic for better view)
I finally admitted that I’ve outgrown this small craft room! Soooo, with hubby’s help & encouragement, I moved it all to my basement family room!

I'm a huge Margaritaville fan. So when I designed my basement family room years ago, I decorated in that theme and call it Bowmanitaville (I even have a Bowmanitaville Bar!!🤣). 

A few years ago, I started selling LuLaRoe. Since my kids moved out and it was just the hubs and I, I set up my LuLaRoe in the family room. I also hold crafting classes. So when I do, I move all of my racks and photography equipment and hold crafting/card making classes there. Thus came the idea to combine both LuLaRoe and crafting!


First, I had to organize and clear all of my equipment to make room for my craft furniture and supplies. This is what it looked like …

It took quite awhile to clear everything and move the contents of my craft room. I still have a lot of organizing, decorating and arranging to do, but at least I have tons of room to craft now! Here's what it looks like now …
Entering the room, Before and after

Before and after. The door on the right is a bedroom. I put all of my LuLaRoe clothing racks
and photography equipment in there. It's really easy to pull the racks into the main room
when I have people over for a LuLaRoe Pop Up party.

I used chalkboard Contact paper to cover the doors
of these 2 storage cabinets. It's easy to see
at a glance what I have stored inside.

I have my Cricut and Cricut supplies all in one place!
I use the drawers of this filing cabinet hutch
to store all of my colored cardstock in hanging files.

I use these mini crates to store my Stampin' Up! stamp sets
on my desk for easy access.


I'm a Paper Pumpkin subscriber, so I get a kit every month.
For some unknown (until now!) reason, I've been
hoarding most of the boxes. I turned them inside out
and cut some DSP to cover one end,
then labeled them with their contents. 
Here's the room where I store my LuLaRoe. The rolling racks are super easy
to roll into the main room for parties or photographing.
A friend of mine built this awesome pull down table (I still have to paint &
decorate it!). I use it for photographing my LuLaRoe and craft projects. I love
the fact that I can roll out the racks and pull this down to take pics! So space saving!!

Well, that's it. That's my craft room so far. As I said, I still have some organizing and decorating to do. But I'm SO excited to have room to craft now! I went from 9' x 11' to about 22' x 17'!! I feel like it's so spacious!
As always, if you have any questions please don't hesitate to leave a comment, send a message or email. Thank you so much for stopping by!! 
And don't forget to check out (& LIKE) my Facebook page to stay up to date with news, sales and specials!

xoxo
Dawn

Thursday, June 6, 2019

I am addicted!!

Ohhh my gosh!! I am officially addicted to making iron on shirts! The hubs got me a Cricut Easy Press for Mother’s Day. I used it a few weeks ago to make my concrete goose, Gertrude, a new White Sox outfit (see previous post).
Since then, I've been thinking about what I want to make next with it. I recently came across some great tutorial videos, so I thought I’d give it a try …

Naturally, I had a white LuLaRoe Tank Top handy, so I decided to use that as my first test.
And I had this packet of Iron On Vinyl, so I picked out some cool colors …

Using my Cricut, I created a phrase and some graphics, then cut them out on the iron on vinyl. The hardest part was picking out the fonts and weeding it all after it was cut.

Then I lined everything up to make sure it fit ...

I warmed up my Easy Press and got to work, applying one color at a time. It was so super easy!

I even created and put my logo on the back! 😍


So yeah, I am officially addicted! It’s really so easy to do. It's far from perfect, but I love the way it turned out. I can't wait to wear it!! Now I'm on the look out for new shirt ideas! Let me know if you have any ideas, quotes, phrases or anything that I can try making 😊

Thanks for stopping by!!

XOXO
Dawn