Tuesday, November 2, 2021

30 Days of Thanks - Day 2

 It's Day 2 of my 30 Days of Thanks Challenge!! I hope you'll be following along.

Here's card #2 for this challenge ...

This card was inspired by a challenge created by my Stampin' Up! upline in out team Facebook group. Every week she creates a challenge. This week was a color challenge using any/all of the colors Bermuda Bay, Pool Party, Highland Heather, Pear Pizzazz and Basic White. I added Basic Black, and used the stamp set Peaceful Moments, along with the dies from Forever Flourishing and Layering Circles. I also heat embossed the sentiment with Basic White embossing powder and Versa Mark ink.

Thank you so much for stopping by! Be sure to stop back tomorrow for my card #3 in this 30 day challenge. If you have any questions, please feel free to drop a comment below or contact me ...


If you'd like to recreate this card, you can purchase any/all of the product used on my shopping site by clicking right HERE

30 Days of Thanks - Day 1


Hello, Hello!! Happy November (a day late lol)!! 

I LOVE making and sending out Thank You cards! For one, they are GREAT to have on hand to give/send out randomly or for something unexpected that you want to thank. PLUS I always send out a Thank You card to my customers. 

So, every day for the next 30 days I'm going to make, post and send out a Thank You card! I'd love for you to join me! You can post your card in the comments here, or feel free to post it on my Facebook page! Here's the link ... Post To Facebook

Here's the first card for this challenge (I actually sent it out yesterday lol) ...

This card was made using the One Sheet Wonder method that I posted in a previous post. I'll be posting card #2 later today so be sure to check back.

Thank you so much for stopping by! If you have any questions, feel free to leave a comment or contact me ...

xoxo
Dawn


Friday, October 22, 2021

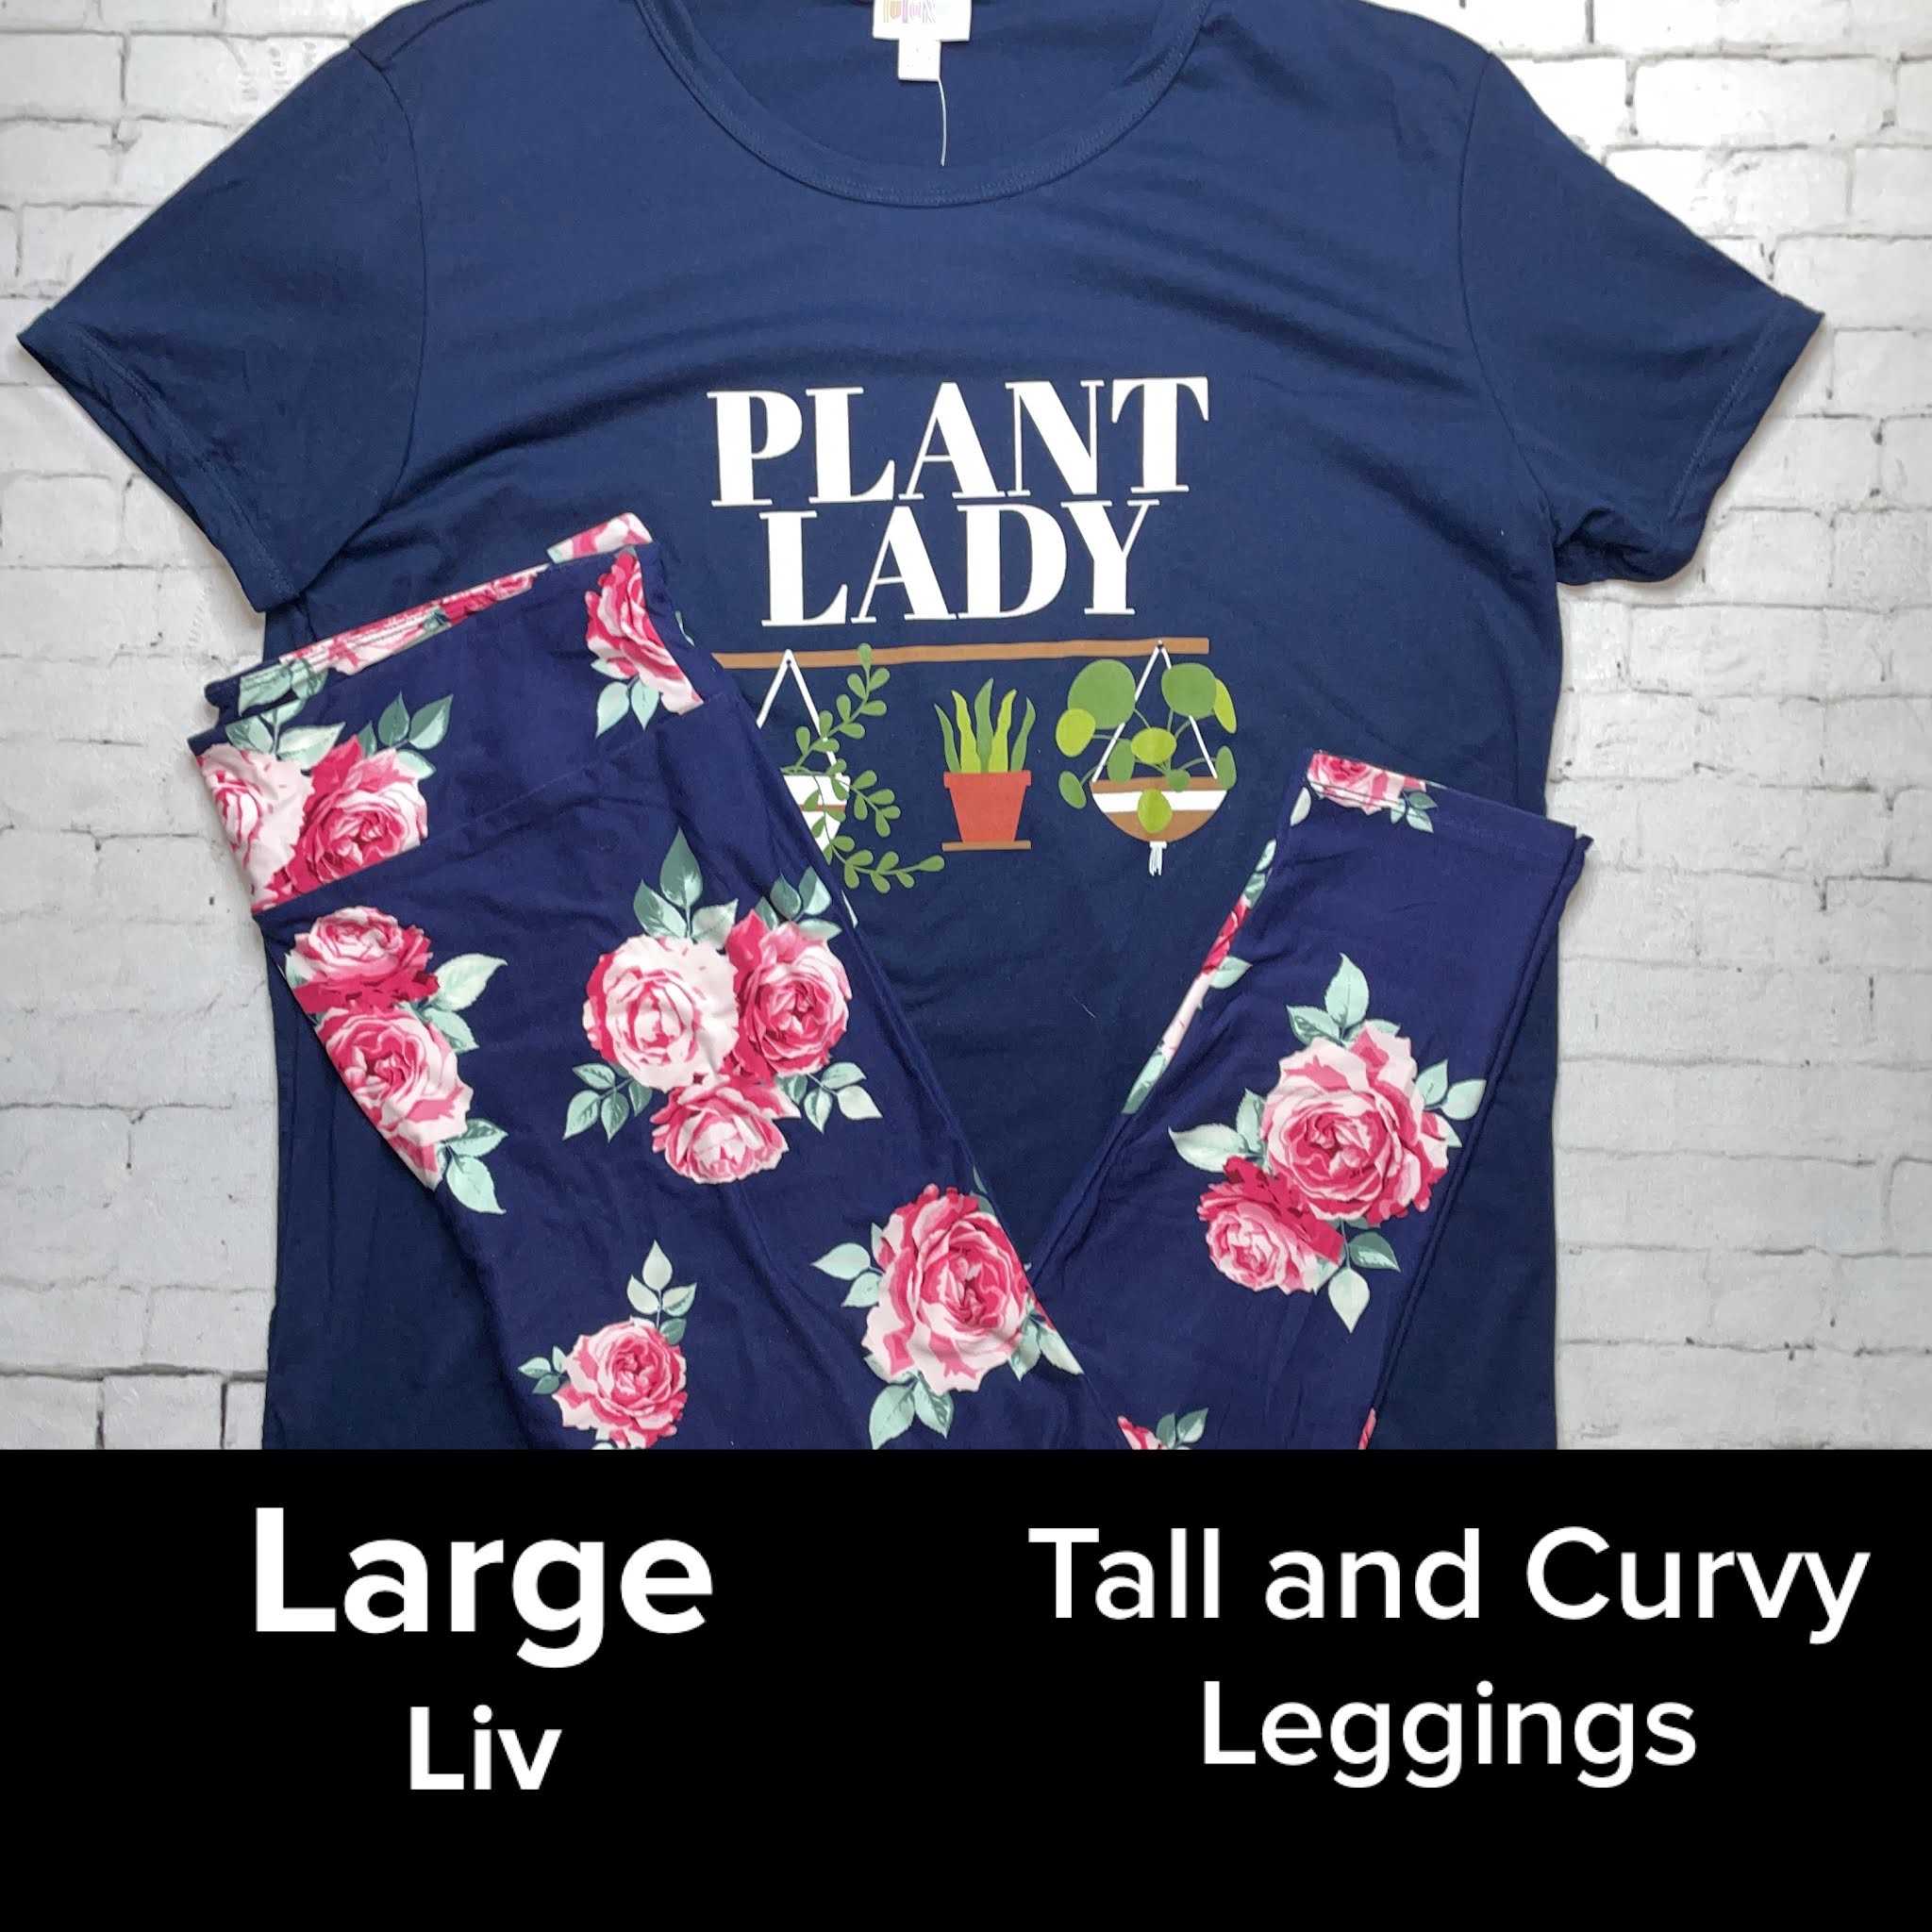
LuLaRoe Outfit Ideas

 I had some free time recently, so I decided to put together some Fall outfits! Oh my gosh, these turned out so cute and I really wish some of them were my size lol.

All of these items are available to purchase separately, so don't worry about having to buy the whole outfit if there's only 1 piece that you want.


If you're interested in any of these items, just click here to shop ... Shop My LuLaRoe

Thanks for stopping by today! If you have any questions, please feel free to contact me or leave a comment below.

xoxo
Dawn


One Sheet Wonder! 9 cards using 1 sheet of DSP


Today I realized that I was low on customer Thank You cards and needed to make more. I sat in front of all of my craft supplies, but was drawing a blank as to what to make. Then I seen my newest Stampin’ Up! order that I hadn’t put away yet and noticed the packages of Designer Series Paper (DSP). Ah ha! One Sheet Wonder! I haven’t made those in a long time!

What is One Sheet Wonder, you ask? Well, it’s when you take 1 piece of patterned paper, cut it up into different sizes, and use the pieces for card fronts. When I'm making a lot of cards at once, I love quick & simple lol. I find that using precut pieces really gets my creativity going! Plus, they come together so quickly!

There are tons & tons of templates for One Sheet Wonder online, but I decided to just wing it lol! I grabbed a sheet of 12x12 and cut 3 strips that were 4 inches wide. I love that Stampin' Up! DSP is 2 sided - it gives you 2 different options! After I cut the 3 strips, I just started cutting random sizes. Here’s what I came up with …


I grabbed some coordinating Cardstock. Every package of DSP lists the colors used, so I picked a few. 
Then I grabbed a punch, ink pads and a sentiment stamp set and began cutting random pieces …


I created card bases from the cardstock and began adding the DSP pieces. Then I stamped sentiments on the Basic White punched pieces and added coordinating punched pieces, then added them to the card fronts. It came along really quick and I ended up with 9 quick cards!

Have you ever created cards using the One Sheet Wonder? I'd love to see them! Feel free to share in the comments. Here's the template I created if you'd like to create some yourself ...
To be perfectly honest here, this was actually my second set that I made lol. The first one I created just felt too 'Spring-y' for this time of year. So, I started over with the above DSP, cardstock, punches and inks. Here's the one I created first ...
See what I mean? Too 'Spring-y' lol

Thank you so much for stopping by today! If you have any questions, please don't hesitate to contact me or leave a comment.

xoxo
Dawn


Monday, September 13, 2021

Retirement Gift Basket

A very good friend of mine retired from her job recently and invited me to her celebration. Of course my first thought was ‘How amazing!!’ But after awhile, the question seeps in … ‘OMG what do you gift for retirement?!!’

Sooo the imagination and wondering starts … the Googling starts … and of course the Pinterest search starts lol. I see all the typical gifts … gift cards, lottery tickets, mugs, t-shirts, etc. Nothing was jumping out at me until I came across gift baskets. Who doesn’t like a nice gift basket, am I right?! Especially when it’s full of items that you like! Now I know there are some gift baskets that you get and you end up giving half or more away. But not this time! This time I’m thinking specifically of the recipient. I’m picking out items that I really think she’ll like (at least I sure hope she does lol). 

The first thing I did was decide to use the word RETIRED. I began thinking of each letter and something associated with each letter. This is what I came up with …

R … Relax
E … Enjoy
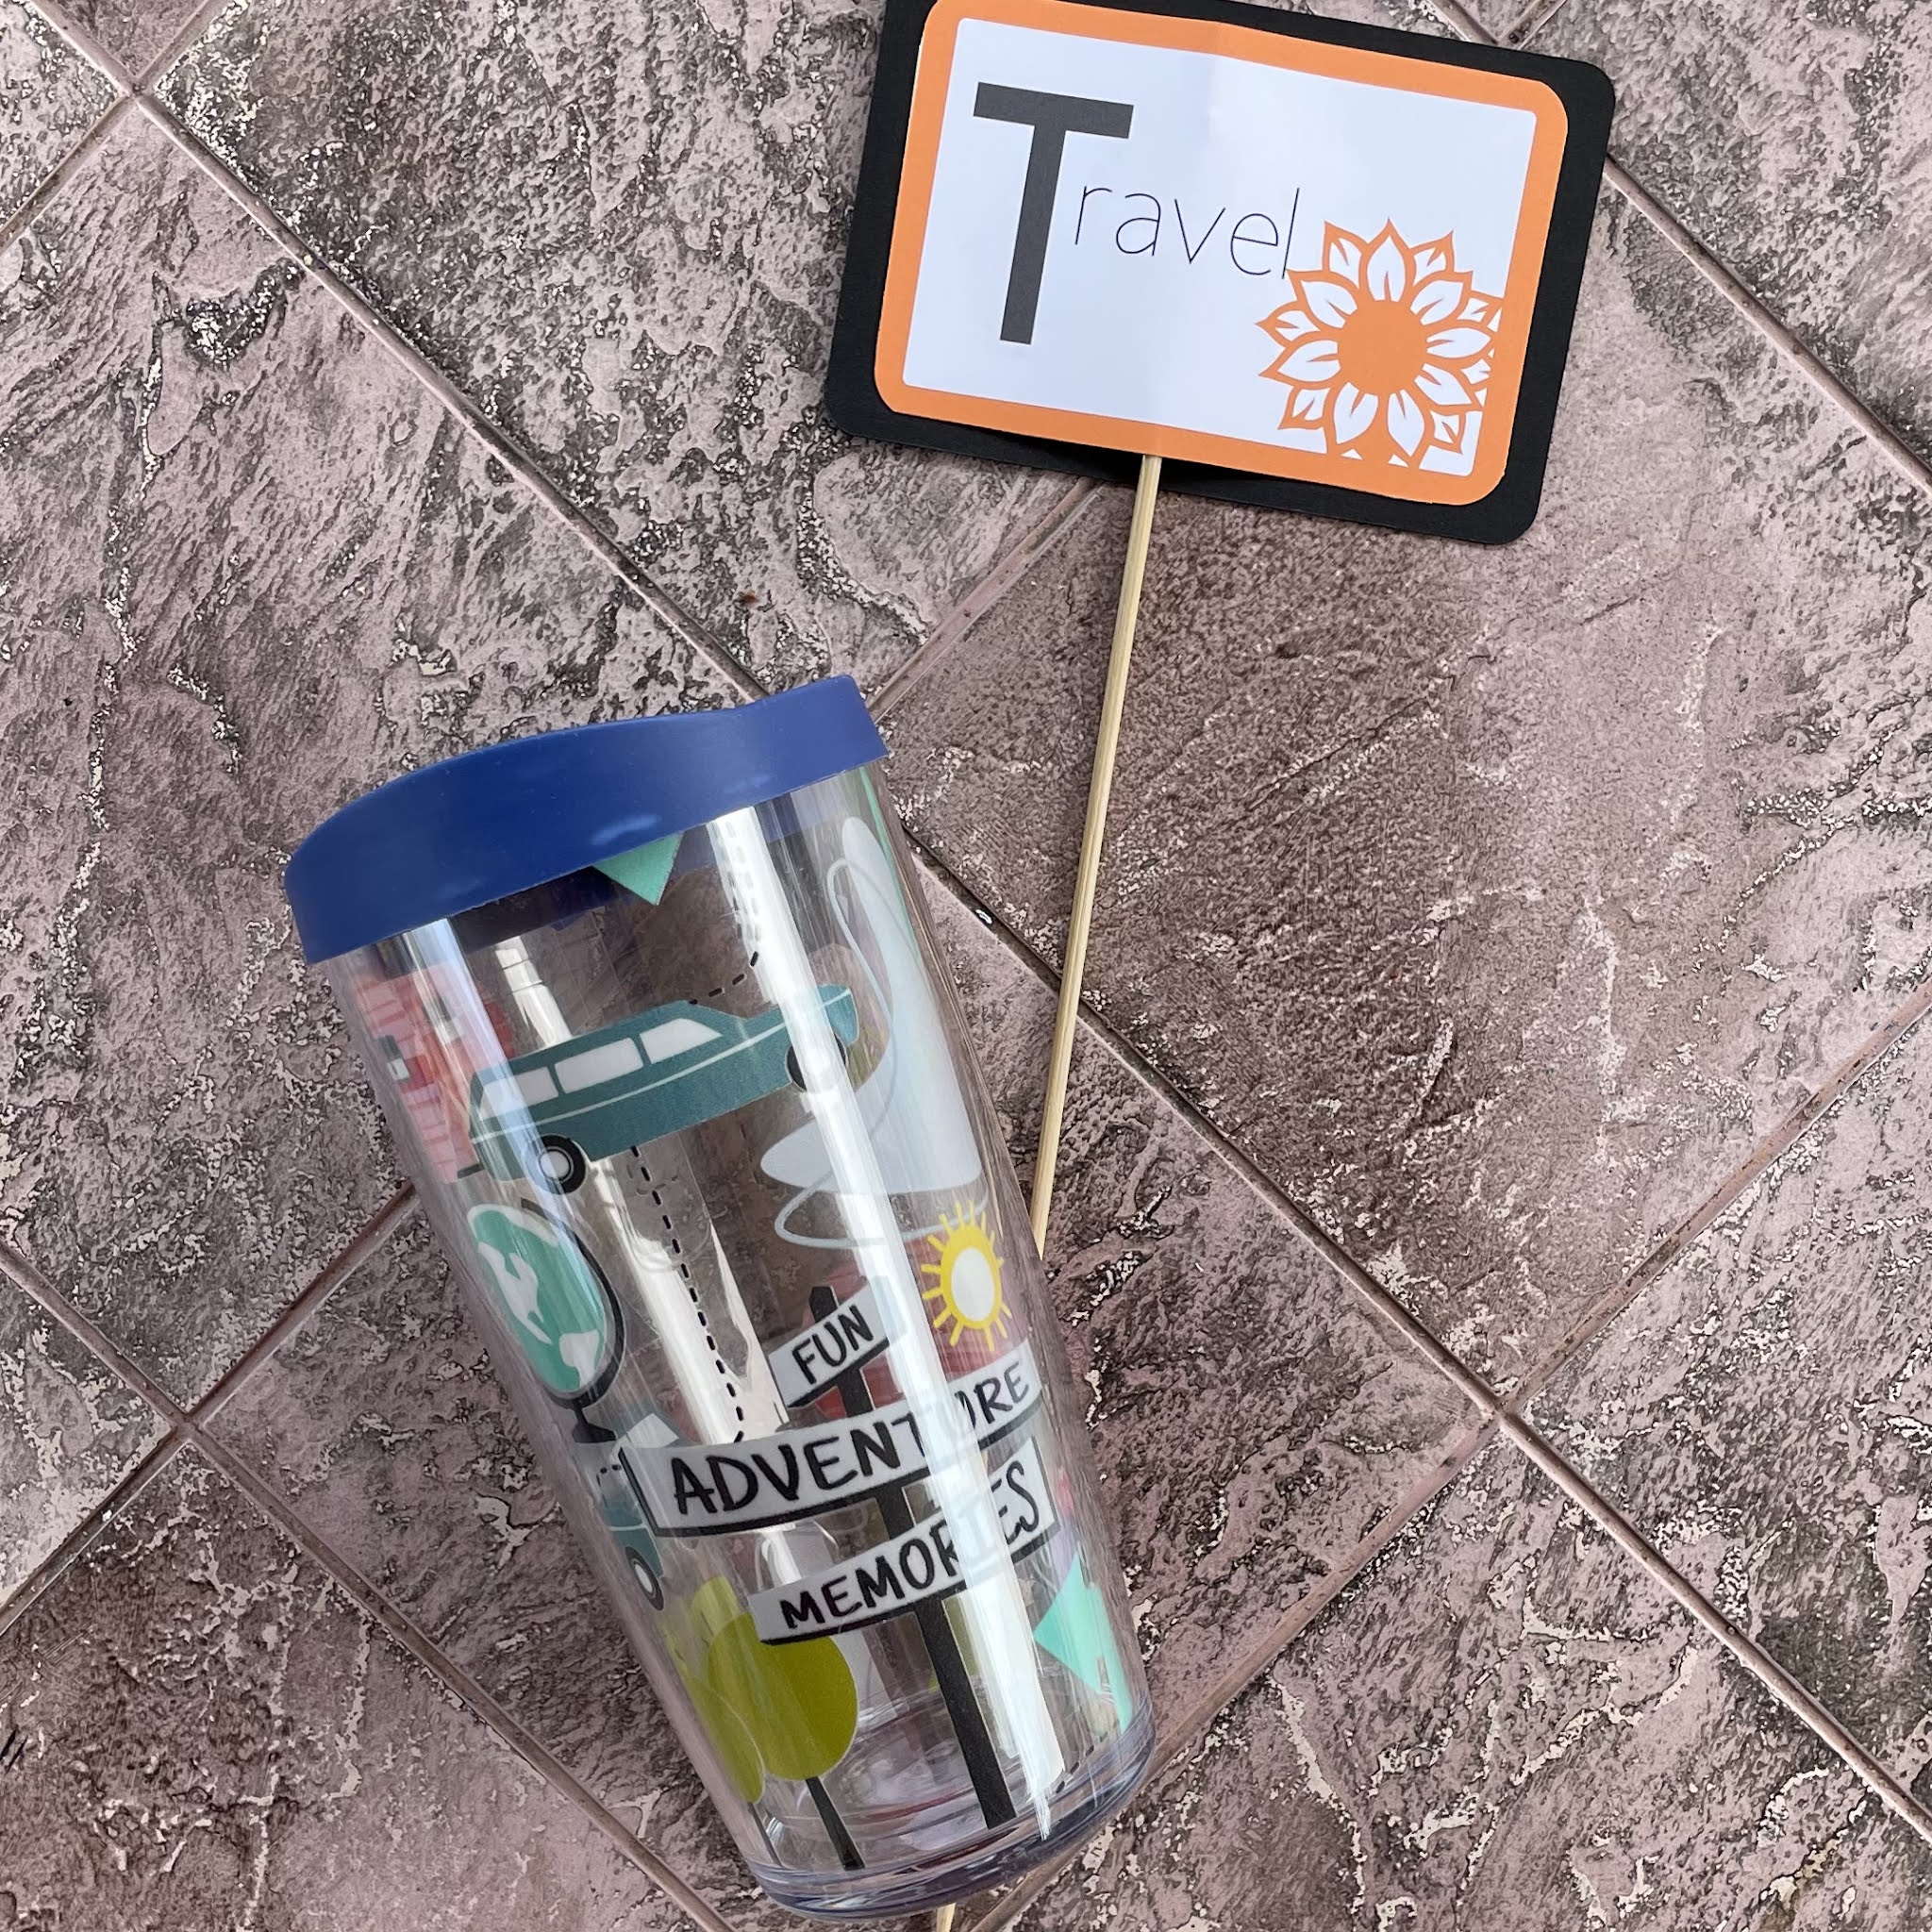
T … Travel
I … Indulge
R … Reconnect
E … Easy (as in take it Easy)
D … Dream

Now that I had my words, I thought of items to represent each word and this is what I picked …

Relax … a soothing face mask and candles

Enjoy … some lavender scented foaming bath and a sleep mask
Travel … a travel mug
Indulge … chocolates of course!
Reconnect … a set of handmade greeting cards
(take it) Easy … Color Street nail polish strips & samples, nail file, scented hand sanitizer 
Dream … a cute sign

Me being the crafter I am, of course I had to make the little signs with my Cricut lol. I put all of the goodies in separate bags, filled with crinkled filler & tied with ribbon, attached the signs to wooden skewers and stuck them in each bag. I filled a bin with newspaper and crinkled filler and put all the goodies in. I tried so hard to line up the letters! They kind of line up if you start with the bottom R ... They just weren’t cooperating lol


I’m happy with how it turned out, but I reallllyyy hope she likes it! If you have any questions, please feel free to ask! Comment below, message me, or shoot me an email.

Thanks for stopping by!!
xoxo
Dawn


Thursday, September 9, 2021

CS Halloween Release

 ๐Ÿ’€๐ŸŽƒ๐Ÿ‘ป COLOR STREET HALLOWEEN RELEASE๐Ÿ‘ป๐ŸŽƒ๐Ÿ’€

Color Street has conjured up SIX spooky nail shades crafted with frightful festivities in mind!! Only available while supplies last!!!


๐Ÿ–ค๐Ÿ’™Midnight Shift, a sparkling black and blue gradient ...

๐Ÿ‘ปFeeling Fab-boo-lous, a glow-in-the-dark ghost design ...

๐ŸงชMagic Potion, a color-shifting green-to-purple and abstract pattern ...


๐Ÿ•ธWeb of Lies, a clear nail art overlay of spiderwebs and accompanying arachnids ...


๐ŸŽƒ
Jack of All Trades, a glittery orange carved pumpkin design ...


๐ŸฉธBad Blood, a shimmering scarlet red ...


Click right here to shop ... Get Your nails!!

And as always, take advantage of my website Buy 3 get 1 FREE deal!!!

Have you joined my Color Street Facebook group yet? Come join the fun and get freebies, sneek peaks and so much more!! ... JOIN the FUN!!


Thanks for stopping by!!
xoxo
Dawn